


In this comprehensive guide, we'll walk you through the process of backing up your TMD Hosting website. Ensuring the safety of your website's data is paramount, and knowing how to create reliable backups is a crucial skill for any website owner. By following these steps, you'll be able to safeguard your valuable content and settings effectively.
Backing up your TMD Hosting website is essential for several reasons. It provides a safety net in case of unexpected issues such as server failures, data corruption, or security breaches. Moreover, having a backup ensures that you can quickly recover your website to its previous state, minimizing downtime and potential data loss. In this guide, we will cover the following topics:
Why Backing Up Your TMD Hosting Website Matters

Before diving into the backup process, let's explore why it's vital to back up your TMD Hosting website:
1. Data Security

Your website contains valuable data, including content, images, plugins, and configurations. Regular backups protect this data from loss due to unforeseen circumstances.
2. Recovery from Errors

Mistakes can happen, whether it's an accidental deletion of crucial files or an unsuccessful update. With a backup in place, you can quickly restore your website to a previous working state.
3. Security Preparedness

In case of a security breach or malware attack, having a backup allows you to rebuild your website securely and prevent future vulnerabilities.
Types of TMD Hosting Website Backups

Before we delve into the step-by-step process of creating backups, let's explore the different types of backups available for your TMD Hosting website:
1. Manual Backups

Manually backing up your TMD Hosting website involves exporting your database and files using the hosting control panel or an FTP client. While it's a straightforward process, it requires regular manual intervention.
2. Automated Backups

TMD Hosting offers automated backup solutions for your convenience. You can set up automatic backups to run at scheduled intervals, ensuring consistent data protection without manual effort.
3. Cloud Backups
Consider storing your TMD Hosting website backups in the cloud, utilizing services like Google Drive or Dropbox. This approach provides an additional layer of security, as backups are kept off-site.
How to Backup Your TMD Hosting Website
Now, let's get into the details of creating backups for your TMD Hosting website:
Step 1: Access Your TMD Hosting Control Panel
- Log in to your TMD Hosting account.
- Navigate to your hosting control panel (cPanel).
Next : Locate the Backup Section
- In cPanel, find the “Backup” or “Backups” section.
Step 3: Generate a Full Backup
- Click on “Backup Wizard” or the equivalent option.
- Choose “Backup.”
- Select “Full Backup.”
- Pick a destination for your backup file (e.g., Home Directory).
- Click “Generate Backup.”
Step 4: Download Your Backup
- Once the backup is complete, you'll receive a notification.
- Navigate to the backup file and click “Download” to save it to your local device.
Best Practices for TMD Hosting Website Backups
While you now know how to create backups for your TMD Hosting website, let's explore some best practices to enhance the effectiveness of your backup strategy:
1. Regular Backups

Consistency is key when it comes to backups. Set up automated backups to run daily or weekly, depending on your website's update frequency. This ensures that your backups are always up to date.
2. Off-Site Storage
Consider storing your backups in a location separate from your hosting server. This prevents data loss in case of server failures or disasters. Utilizing cloud storage services or external drives is a reliable choice.
3. Test Restorations
Periodically test the restoration process to ensure that your backups are functional. This practice helps you identify any issues and guarantees a smooth recovery when needed.
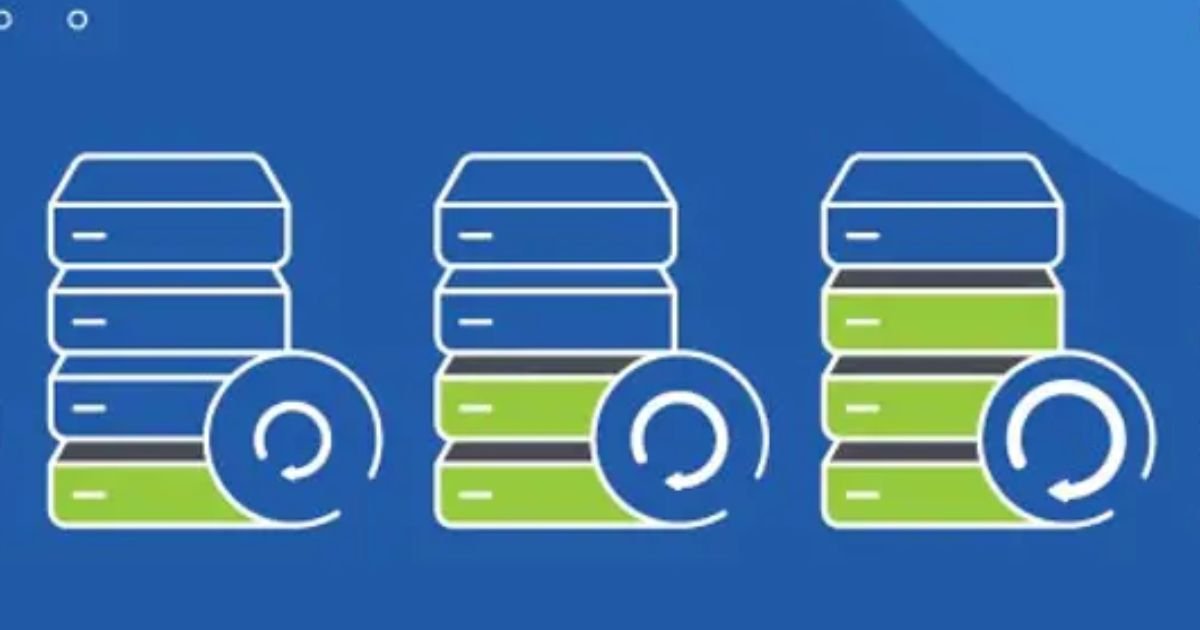
4. Version Control
Maintain multiple versions of your backups. Having access to older backups can be valuable if you need to revert to a specific point in time.
5. Security Measures

Protect your backup files with strong passwords and encryption. Ensure that only authorized individuals can access and restore your website data.
6. Monitoring and Alerts
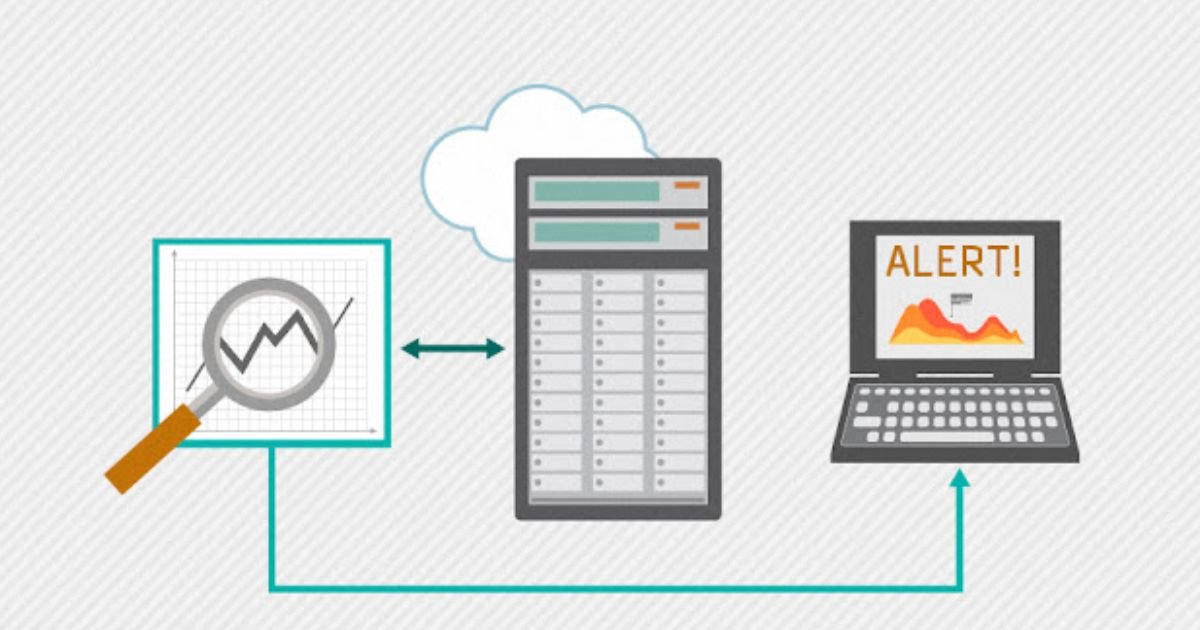
Set up monitoring tools that notify you of backup failures or irregularities. Timely alerts allow you to address issues promptly.
7. Documentation

Keep detailed records of your backup procedures, including schedules and locations. Having documentation on hand simplifies troubleshooting and ensures consistency.
The Importance of Testing Restorations
While creating backups is crucial, testing the restoration process is equally important. This step ensures that your backups are functional and that you can successfully recover your website in a real emergency. Here's how to do it:
Step 1: Choose a Test Environment
Create a separate staging environment or a local development server where you can test the restoration process without affecting your live website.
Step 2: Restore the Backup
Using the backup file you created earlier, initiate the restoration process on your test environment. Follow the same steps you would in a real recovery scenario.
Step 3: Verify Functionality
Once the restoration is complete, thoroughly test your website's functionality. Check pages, links, forms, and any interactive elements to ensure everything works as expected.
Step 4: Address Issues
If you encounter any issues during the testing phase, document them and troubleshoot until your website functions correctly.
By regularly practicing the restoration process, you'll gain confidence in your backup strategy and be well-prepared to handle any unforeseen events.
Final Thoughts
In this guide, we've emphasized the importance of backing up your TMD Hosting website and provided a step-by-step tutorial on how to create backups through your hosting control panel. Regularly backing up your website is a proactive measure that ensures your data remains secure and your site can be quickly restored in case of any issues.
Backing up your TMD Hosting website is a critical task that should never be overlooked. By following the steps outlined in this guide and implementing best practices, you can ensure the safety and security of your website's data. Remember that being proactive in safeguarding your website through regular backups is the key to minimizing downtime and potential data loss.
Take the initiative to protect your TMD Hosting website today. Implement a robust backup strategy, follow best practices, and regularly test your backups. In doing so, you'll ensure that your website remains safe, secure, and resilient in the face of unexpected challenges.
FAQs
How do I backup my web hosting?
To back up your web hosting, you can create backups of your website's files and databases through your hosting control panel. Many hosting providers, including TMD Hosting, offer tools and options for creating backups. You can choose between manual and automated backup methods, depending on your preference and hosting provider's offerings.
How do I backup my website in cPanel?
To back up your website in cPanel, follow these steps:
- Log in to your cPanel account.
- Navigate to the “Backup” or “Backups” section.
- Select the type of backup you want to create, such as a full backup or partial backup.
- Choose a backup destination, either your home directory or an external location.
- Click the “Generate Backup” button to initiate the backup process.
How do I back up my WordPress website?
To back up your WordPress website, consider using a reliable backup plugin such as UpdraftPlus or BackupBuddy. Here's a general outline of the process:
- Install and activate the chosen backup plugin from your WordPress dashboard.
- Configure the backup settings, including the backup schedule and destination (e.g., cloud storage or local server).
- Initiate a manual backup or wait for scheduled backups to run.
How do I access cPanel from TMD Hosting?
To access cPanel from TMD Hosting, follow these steps:
- Log in to your TMD Hosting account through their website.
- Navigate to your hosting dashboard or control panel.
- Look for the cPanel icon or link, often found in the control panel section.
- Click on the cPanel icon or link to access your cPanel account, where you can manage various aspects of your hosting account, including backups, databases, and website settings.


